| Users say: |
|
... I know that DVDremake has found a home in my production toolbox and that this forum is a good place to get help. Thanks for the quick response and support.SpectrumPro
|
|
More...
|
|
|
DvdReMake Pro inserts a standart start-up menu to select one of the merged disks for playback. Buttons just say: "Disk 1", "Disk 2", etc. Not very informative. But there is an easy way to change the default text to what you need. This method will keep buttons position and their highlights. If you want to completely modify the start-up menu so that it fits your disk design you will need to use this method.
Step 1. Download archive with menu backgrounds (2, 3 and 4-buttons) for your TV system (it is same images that were used to create default menus, but without any text - only with highlight "pins"):
Step 2. Extract image with needed amount of buttons and edit it in any bitmap editor to add custom text for each merged DVD
 |
 |
| Original menu background |
Edited menu background |
Step 3. Author a dummy DVD with edited bitmap. Easy way to do it is to use Muxman program
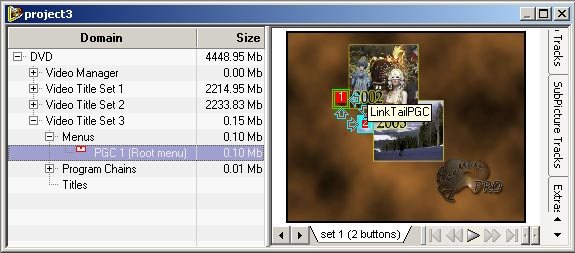
Step 4. Import this dummy DVD into DvdReMake Pro
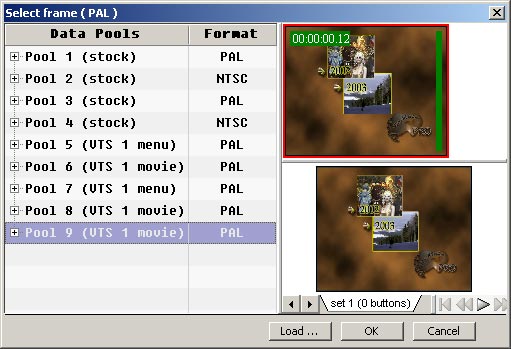
Step 5. Original start-up menu is located in the menu domain of the last VTS. Open original menu in preview, right click and "replace with still" (DvdReMake Pro 3.1+ is required).
Step 6. Select block with your edited bitmap and hit "OK".
Step 7. Done. Now you can export, burn the disk with your faivorite aplication and enjoy nicely looking customized start-up menu.

|

 Copyright ©2003-2019 DimadSoft. All rights reserved.